Showing posts with label Nail. Show all posts

Sunday, 11 January 2015

My Favourite Nail Care Products

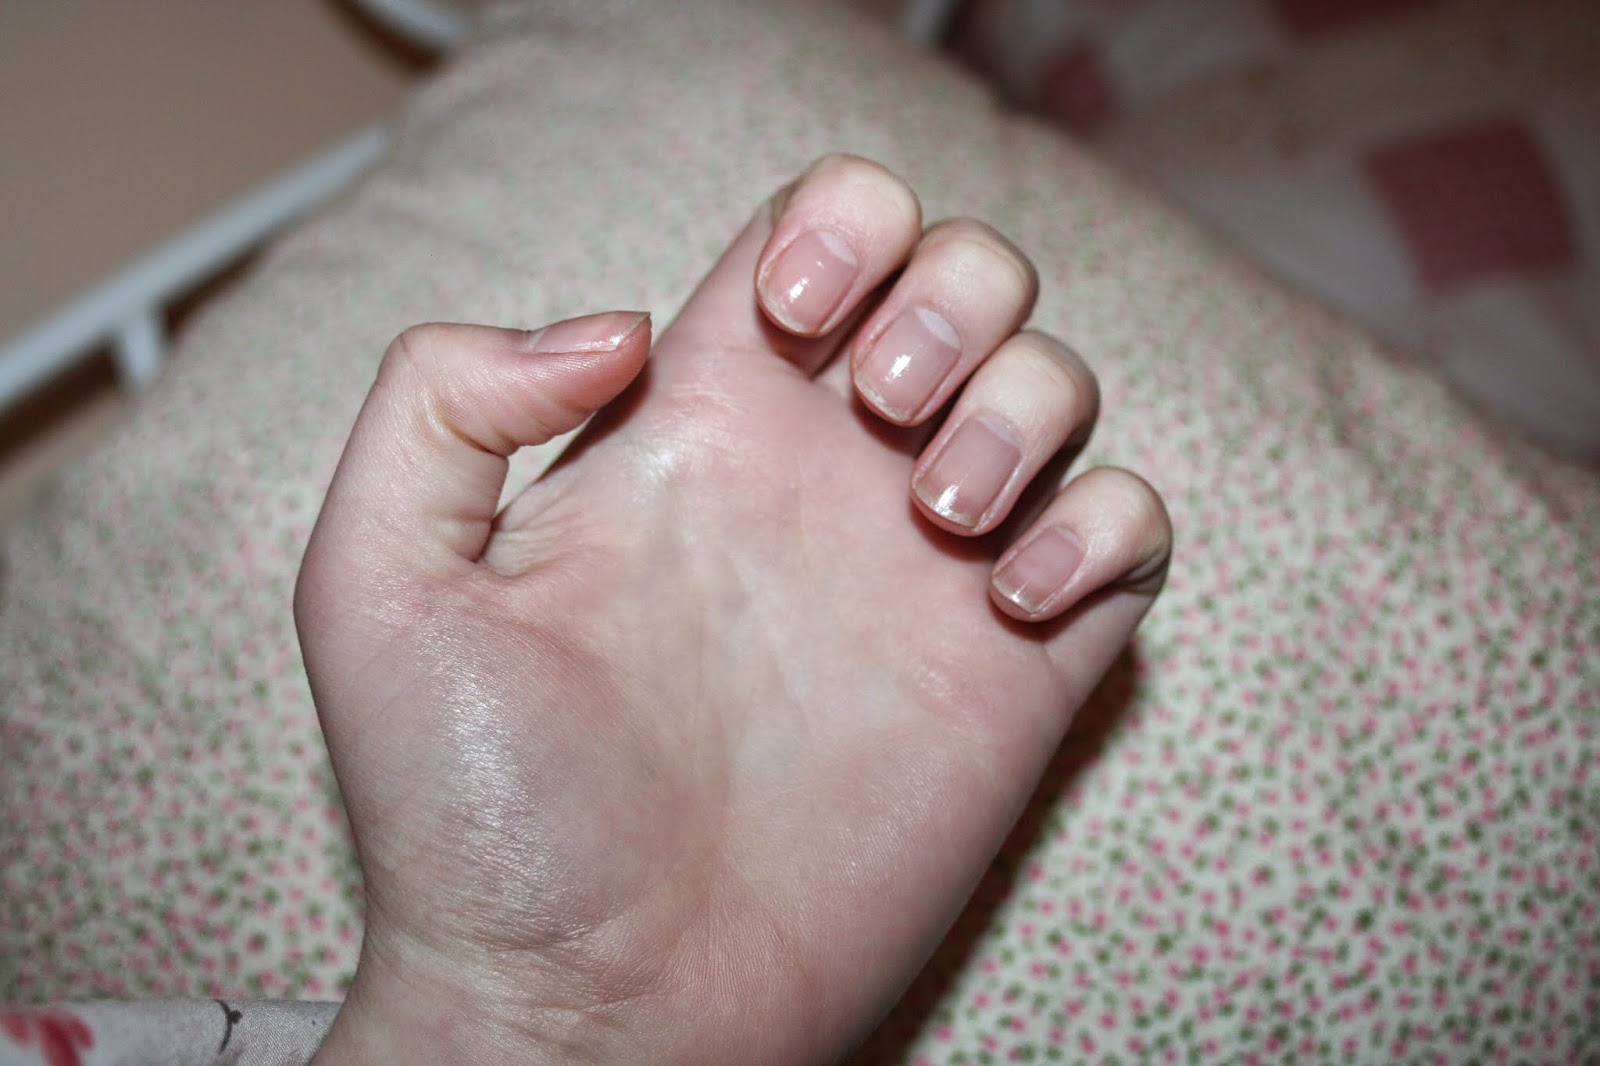
Hi everyone! Recently my nails have been breaking and splitting and my hands have been so dry partly because of the cold weather and partly because at work I'm washing my hands almost 15 times a shift with medical soap and no moisturiser! So I've taken a little break from painting my nails but I wanted to share with you what I've been doing instead to get my nails fiting fit again! 

I got this cuticle oil for Christmas and have been applying it 3 times a day (ideally I would be applying it more often but I can hardly take it to school with me) and I think it's actually been helping! 


Then I use this No 7 cuticle cream which I rub into my nails and around them after the oil has soaked in a bit. It was actually pretty affordable seeing as Boots are always giving discount vouchers off No 7 all the time! 


I use Hand Food by Soap and Glory during the day because it's light and absorbs fast which is great because I hate having oilly hands when I'm trying to write at school! The scent is quite strong and lasts quite a while which I like - I'm don't really know how to explain the smell but it's quite sweet? 


At night I alternate between Palmer's Cocoa Butter Formula concentrated cream and The Body Shop's Hemp Hand Protector.

The Body Shop hand cream is really moisturising and my hands feel so soft in the morning but it is very heavy and takes quite a while to absorb which is why I only use it at night. The smell isn't anything amazing just kind of planty! 


The Palmers one is a high concentrated cream so you don't need a huge amount because a little goes a long way! It also smells really good and chocolatey which is always good! It's not as heavy as The Body Shop one so if my hands are really dry I can get away with wearing it during the day and no worrying about greasy hands! 


Hope you liked this slightly different blog post! How do you keep your nails in good condition with the strains of everyday life? Thanks for reading! 

Sunday, 28 December 2014

Born Pretty Store Glitter Nail Wraps

DISCLAIMER: I've been sent this product by Born Pretty Store for my honest review which is exactly what I've given you!

Hi everyone! So a few weeks back Allison from Born Pretty Store contacted me asking if I would like to review some of their products on here which was very exciting for me as I've had this blog for just over a year now and this is the first set of products that have been sent to me! I've read a couple of other reviews and have looked at the site before and what was such a pleasant surprise to me was the price - everything is so reasonably priced! From placing my order to receiving it took just under a month but their delivery times vary based on your location!


So as well as choosing 3 stamping plates (which you can read about here!) they also kindly let me choose 2 other items and this is the first one I'd like to share with you. Now I've only really used nail wraps once before and it was a bit for a disaster to be honest; they didn't fit my nails properly and I didn't put them on very well so there were creases everywhere but I thought it was time to give nail wraps another go! So I chose these Glitter Gradient Wraps which are only £1.84!!! With this design there are 13 different colours to choose from and I chose #5 which is a a warm brown shade as I thought it was something different to what I usually wear on my nails!


In the pack you get 12 wraps of varying sizes and although they probably won't be exactly the perfect size for you nails you can get pretty close and there some handy instructions on the back if you've never used wraps before. 


So you peel off the protective cover and then very carefully you can peel off each individual nail wrap and then place it onto your own. 


Once it's on it's quite hard to readjust so my advice would be to just hover it over your nail when you are trying to position it. Place it onto you nail and then smooth it down starting from the middle to ensure there are no creases. This was all a lot easier than I remember it being and I had no creases at all! All you've then got to do is cut off the excess and file it to neaten the edges. You don't have to but I put a top coat on just to make sure they stayed on.


I was so impressed with these wraps! They look so pretty and I like the gradient effect they have and I got a surprising number of people ask me how I managed to do it! They're great if nail painting isn't your strength or a major selling point for me is how quickly you can put them on and don't have to wait for them to dry! They last remarkably well without chipping too! I had them on a whole week and the only damage to them was me getting some glue on them in DT and it accidentally taking some of the wrap with it when I peeled it off!


With free shipping and them being so cheap anyway I will be ordering some other colours to try out! If you like any of the plates I chose or there's something else that takes you fancy you can use my 10% off code on your next order!


Hope you enjoyed this review - let me know what you think! Do you use nail wraps or do you prefer painting them? Thanks for reading! 

Sunday, 14 December 2014

Born Pretty Store Stamping Plate Review

DISCLAIMER: I've been sent this products by Born Pretty Store for my honest review which is exactly what I've given you!

Hi everyone! So a few weeks back Allison from Born Pretty Store contacted me asking if I would like to review some of their products on here which was very exciting for me as I've had this blog for just over a year now and this is the first set of products that have been sent to me! I've read a couple of other reviews and have looked at the site before and what was such a pleasant surprise to me was the price - everything is so reasonably priced! From placing my order to receiving it took just under a month but their delivery times vary based on your location!


So I got to choose 3 stamping plates from their collection and I picked these!

'Charming Spring Nail Art Stamp Template Image Plate BORN PRETTY 24 (#17203)'


'Starfish & Shell Theme Nail Art Stamp Template Image Plate BORN PRETTY 10 (#16857)'


'Butterfly Nail Art Stamp Template Image Plate BORN PRETTY 22 (#17267)'


So I already had the stamper and scraper (although you can just use an old credit card for the scraping) but I've never used a stamping plate before. I'm not going to lie, it took me a while to realise that you have to remove the blue seal as it's just a protective layer!!! I was wondering for a bit why on earth it wasn't working!


So first I tried out the Spring themed one which is only £1,90! This is I chose this one because I saw the owl on it which I thought look really cute as I'm 'Little Owl' at a Brownie unit so I take any opportunity to get owl themed things!


I then tried out the Starfish and Shell themed one which is £1.27! I picked this one because I really like the mehendi style waves and it will be perfect for those beach days (if the rain ever goes!) 


And saving my favourite until last - the Butterfly themed plate for an absolute steal at £0.63!!!!! I absolutely loved the detail of the butterflies and the patterned flower section is just so pretty! I cannot wait for this winter weather to go so I can start wearing bright summery colours again because this would look perfect!


I will defiantly be using these again because it so simple to do but really gives you nails an extra something! With free shipping and such adorable products I will without a doubt placing an order of my own! If you like any of the plates I chose or there's something else that takes you fancy  you can use my 10% off code on your next order!


Hope you enjoyed this review - let me know what you think! Have you used plates before? Which one is your favourite? Thanks for reading!


Thursday, 30 October 2014

Halloween Nail Art

Hi everyone! So this is going to be a pretty short post but I just wanted to show you my nails for Halloween and maybe give you some inspiration! For all of it I just used a small nail brush and a medium sized nail dotter. This was the first time I've painted designs straight onto my nails so apologies for the slightly shaky quality of some of them! 


I think each nail is pretty self explanatory in the link to Halloween! My favourite is probably my index finger as it was really simple to do but looks really effective! If I did another one I'd use this idea and paint my nails a neutral colour and use a red so it looks a bit more like blood! 

Hope you enjoyed reading this and I'd love to know what spooky designs you've got on your nails this Halloween! Thanks for reading! 


Monday, 14 April 2014

Review of 'Revlon Nail Art Moon Candy' in 'Galactic'

Hi everyone! I got this polish as a Christmas present and have been dying to use it and show you for ages but I wanted to save it for a special occasion (it was my birthday week!). It has been around for a little while now and I haven't really seen anything that compares to it. Whilst it is basically a base colour with a top coat glitter duo, the glitter isn't like any ordinary glitter; it really makes your nails look amazing and I got loads of compliments when I wore it!


There are also 6 others in the collection in different colours all just as beautiful but I think in other countries the collection is larger as I've read reviews on colours I can't find myself in shops. In the UK you can get them from pretty much any Revlon counter in most shops and they retail for £7.99.


Due to it being quite a dark colour I used my Barry M basecoat to protect my nails.


I then applied one coat of the base colour which is a dark blue, almost black, colour. It goes on really well and even though I only applied a thin coat I still only needed one for a full coverage and it dried pretty quickly as well! I did find it a little hard to apply as the brush is attached to the other side of the duo making it a lot longer and heavier than normal nail varnishes.


I didn't have to wait long until I applied the glitter coat on top which is a turquoise base with different blue iridescent glitter flakes and it is so gorgeous! I felt it was better to dab it because otherwise the larger flakes stayed on the brush rather than transferring to the nail although it did mean in some places quite large flakes stuck up off the nail but they could quite easily be pushed down with tweezers. 


Although you don't really need a top coat as the glitter coat itself is really shiny but I found that due to the glitter flakes being different sizes my nail didn't feel very smooth so I used my Barry M top coat to fix that.


I absolutely love this nail varnish and can't wait to wear it again. I'm going over to America in the summer so I'll have to have a look at the other colours and maybe even treat myself to one! I would really recommend you give this collection a go if you haven't already and although they are £7.99 I think it's worth it! Let me know what you think and if you've tried one out! Thanks for reading!

Monday, 17 March 2014

Nail Art - Polka Dots

Hi everyone! So I know I normally do just reviews of different nail varnishes I was thinking about being a little more adventurous and trying out different nail art styles as series of blog posts, so I thought I would start off simple with polka dots! For my birthday my sister got me a set of dotting tools which vary in size so you can get tiny dots and huge ones! I love the design of the tools them self because you can twist them around and it looks really cool.


Personally I think dots on nails look best when it is white dots on top of colour so I went for the classic black and white polka dot. I couldn't decide whether black dots on a white base; or white dots on a black base would look better so I incorporated a bit of both with an accent nail.


So I started by applying my base coat as I always get a bit nervous when I'm using very dark colours on my nails as I've had a lot of bad experience with my nails staining. I used my Sally Hansen one as it drys so quickly!


Then I applied my base white colour to 4 of my nails and then I painted my ring finger nail with a black base to create an accent nail by inverting the colours. Both nail varnishes are from NYC color and are £2.49.


I applied a second coat of both nail vanishes because I felt the white was a bit patchy and weak with only one coat and I needed it to stand out. Although the black didn't really need a second coat I thought I might as well!


Now for the fun part! I put a blob of the same white nail vanish I had used as a base onto a bit of paper and I read that it made the dots look a lot better rather than trying to paint onto the dotting tool. I chose the largest ball size because I did want quite big polka dots. I dipped it at 90 to the paper straight into the polish and then did the first few dots on my accent nail. Obviously after 1 or 2 you will need some more polish on your dotter so just dip it back in.


It's important to clean your dotting tools because they are made of metal so you don't want them to rust or end up with dried polish on the end. I then did exactly the same putting a blob of black nail varnish onto the a paper and then dotted the remaining 8 nails.


I then sealed it all with my Barry M top coat and tidied up all the bits that went on my skin and they were all done!


I love how they look and got loads of compliments on them today. I think they work really well because they go with everything and look really classic. Dotting your nails is probably the easiest from of nail art so if you don't already have nail dotting tool I would recommend you getting some as they are really cheap if you do a search on Ebay or Amazon. If you don't want to buy some you could always use the head of a pin but I'm not sure it will work as well. Let me know if you think the nail art series is a good idea and if you love the polka dot look as much as I do! Thanks for reading!