Showing posts with label Superdrug. Show all posts

Sunday, 18 May 2014

Review of Barry M Brushes

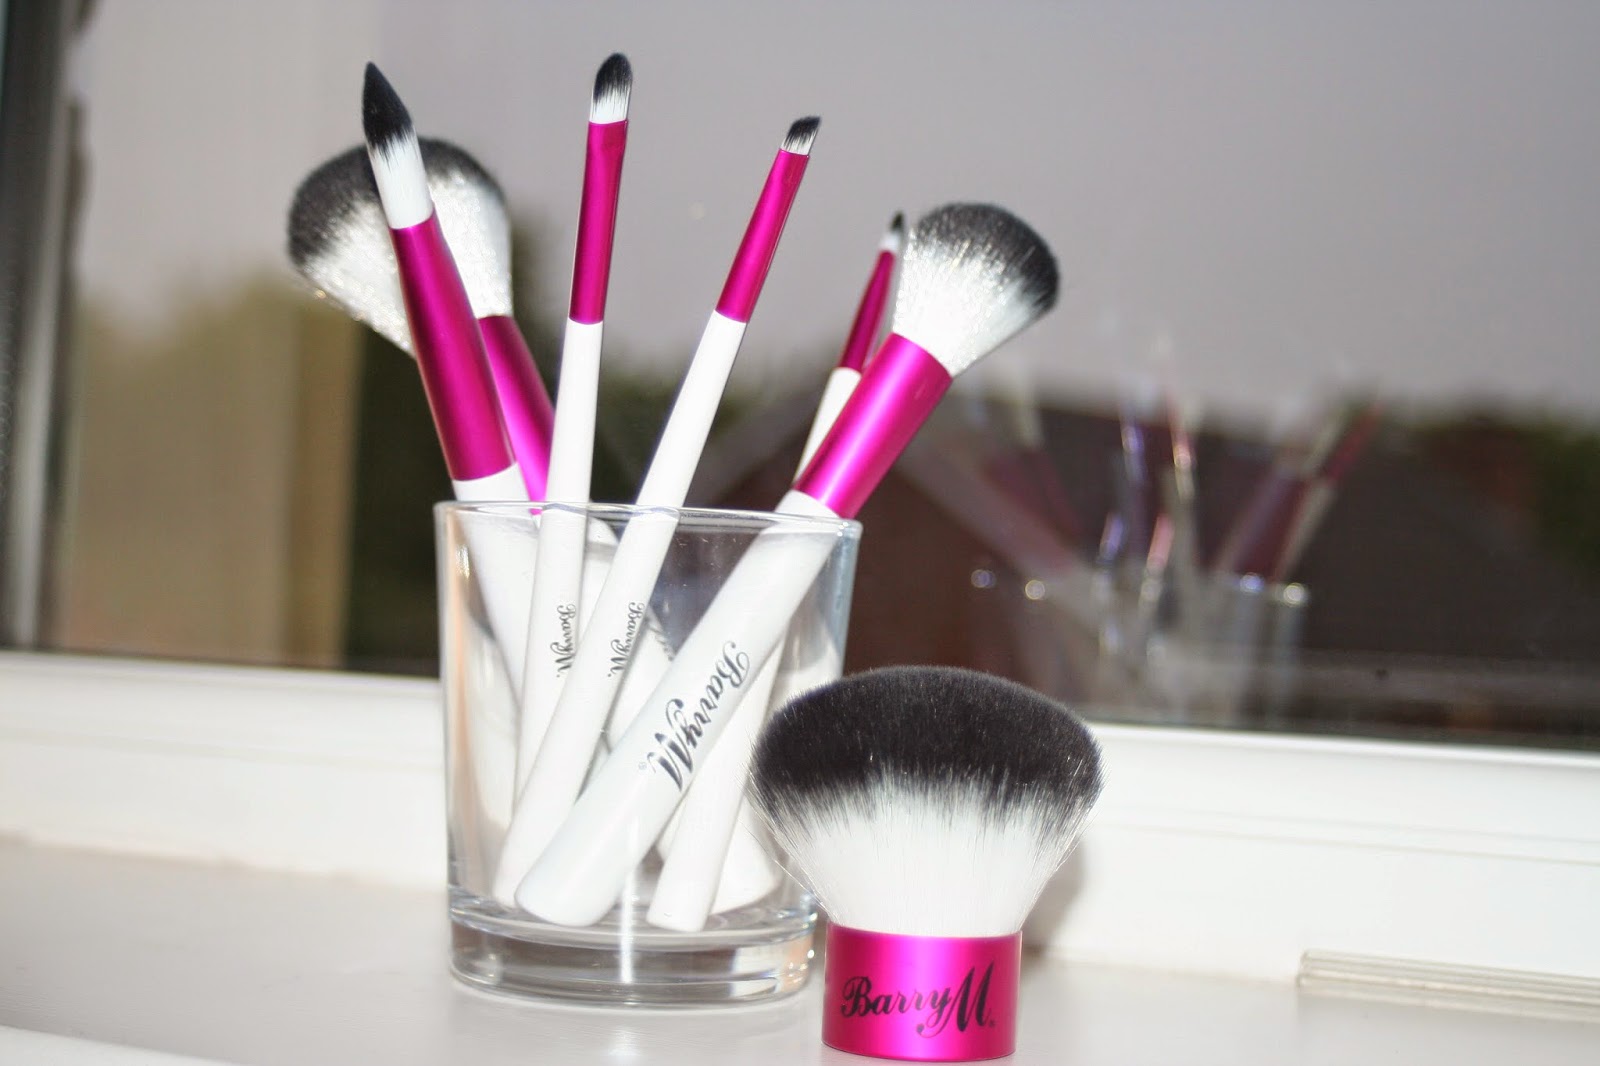
Hi everyone! So back in April I entered a competition run by Barry M on Twitter to win all their make up brushes and if you haven't already guessed by the title I won! Last year I bought a selection of about 25 brushes on eBay for just under £10 for them all but as I'm sure you can guess the quality of them weren't great and the bristles were falling out all over the place. Since then I've just applied my make up with my fingers but my sister who has a load of brushes from the Real Techniques collection was just as excited as I was to hear I had won the giveaway. In the collection there are 7 full sized brushes and a travel set which are all synthetic and 100% vegan which is always nice to know.


So lets start with the packaging. I love the colour scheme of the pink, black and white and on the back of each of them there is a cute little quote instructing you on how to use the brush. The colour scheme continues on the brushes themselves and they are all light weight and so soft which is nice. My one criticism would be that the brushes themselves don't have any labels on or numbers indicating the purpose of the brush which would've been nice as the eye shadow and the concealer brush are pretty much identical.


Foundation Brush - £4.99 Barry M/ £5.99 Superdrug

I'm not exactly sure why the price varies for this one as it doesn't for any of the others but hey ho! The brush is very soft but quite sturdy which I know is not always everyones cup of tea when it comes to foundation brushes but I really like it. I don't often wear foundation but I have used it once and it doesn't leave any streaks and blends really well.


Concealer Brush - £2.99 Superdrug

I used this brush everyday and it is so much better than using my fingers. It's also really soft and again quite sturdy but it's perfect for concealing those dark circles! It looks pretty much identical to the eye shadow brush as the only really difference is this one is about 1cm smaller.


Eyeshadow Brush - £2.99 Superdrug

Again this is a brush that features in my everyday routine. Personally I prefer using sponge applicators for applying eyeshadow but this brush has really started to grow on me. It picks up powder really well and is perfect for blending.


Angled Eyeliner Brush - £2.99 Superdrug

My sister has had her eye on this brush ever since they arrived at the front door. I've used this brush once to apply some darker eyeshadow in place of using eye liner but my sister who is a big fan of gel eyeliner says it feels as though it would be a great brush for gel. The bristles are sturdy so you do get quite a defined line but the are soft enough that you don't hurt yourself.


Blusher Brush- £4.99 Superdrug

I love that this brush is angled slightly so whilst it is supposed to be to apply blusher I think it would also work really well for contouring as well as for blusher. Again it's so soft and feels really nice on your skin.


Bronzer Brush - £7.99 Superdrug

This brush seems very big to be used as a bronzer brush for contouring but it would be perfect to give you that natural sun kissed look when you blend the bronzer in. It is so soft and I love just stroking it across the back of my hand (not as weird as it sounds I promise!)


Powder Brush - £5.99 Barry M

I love using this brush every morning because it's so much softer than the brush I had been previously using. It doesn't pick up a huge amount of powder but it's perfect for when you want a light covering.


Mini Brush Set - £9.99 Superdrug

In the set there appears to be a powder brush, concealer/foundation brush and an eyeshadow brush along with a lash/brow comb. They are just as good quality as the rest of the collection and just as soft! I love travelling and I normally only take the essentials when it comes to make up in a my smallest make up bag which these fit in nicely so no doubt they will come in use on my next adventure.


I really love this collection of brushes and would give them an overall strong 9/10 because they are affordable but still great quality!


So what do you think of the collection? I love that they are so affordable but still great quality - Barry M have really hit their target market! Let me know if you've bought any and what's your favourite brush? Thanks for reading!

Sunday, 20 April 2014

Review of 'Barry M Aquarium Collection' in 'Pacific'

Hi everyone! So not that long ago Barry M brought out a Silk collection (which I wrote about here) and I was worried that their new Aquarium collection would be exactly the same but I had no reason to worry! There are 6 new polishes in the Aquarium collection, 4 duochrome effect polishes and 2 glitters. All of them have oceanic names and I picked up Pacific for £3.99 (although Superdrug were doing a 3 for 2 offer so I did get another two!)


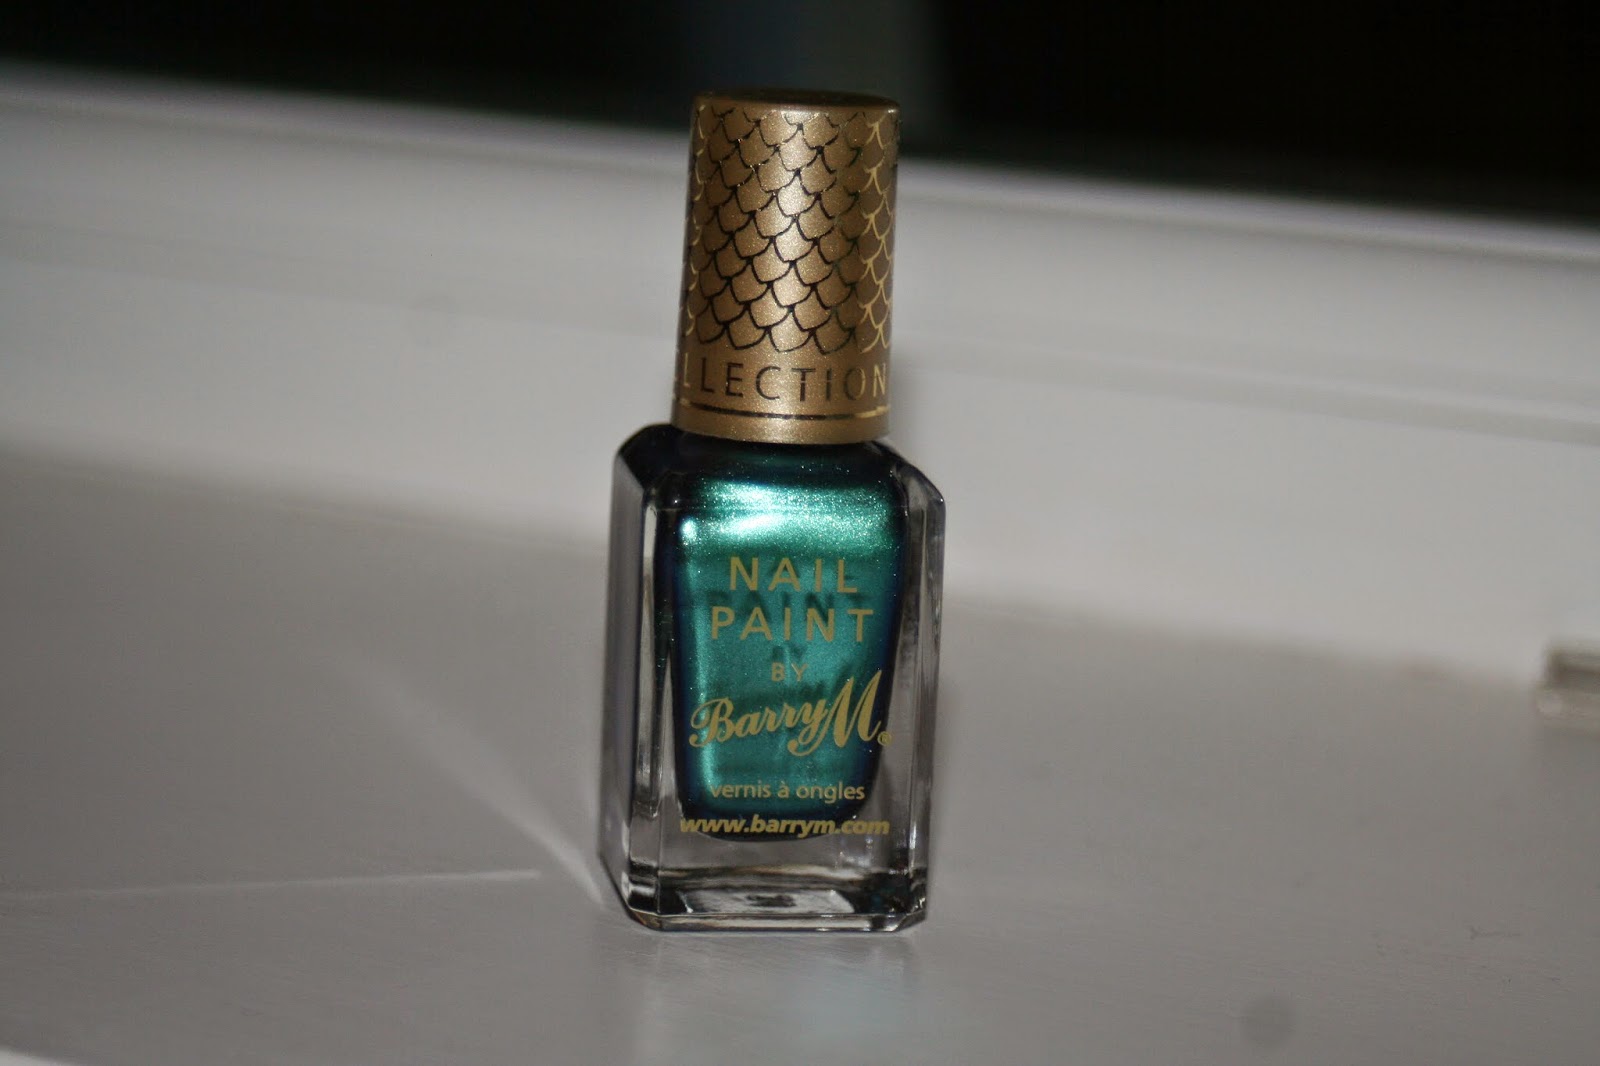
Pacific is a bluey green colour like the ocean really and is kind of metallic so in different lights it appears slightly different in colour which I think is really cool! In the bottle is does seem very similar to East Village by NYC but a bit more blue. I love the scale design on the lid of the bottle making this collection very distinguishable.


I used NYC toughen up nail varnish which isn't actually blue when it goes on! I know it isn't a base coat exactly but my nails have been braking a lot recently which I'm putting down to my new job at Costa!


I then applied the first coat of colour and was surprised how thickly it went on! I was expecting it to be very similar to East Village but I did find it to be a little streaky as I was applying it. Due to the metallic nature of the polish it means that brush strokes are a lot more visible than normal. I did really like the colour and even with one coat it was pretty much the same as in the bottle.


For the second coat I applied it a little thicker than the first to eliminate any brush strokes because I think having brush strokes on your nails just make them look really cheap and badly done! I mean, you wouldn't want paint stripes down your walls would you!?


Finally, I applied a top coat and tidied them up a bit and that's the finished look!


Whilst I really like the formula and colour of the nail varnish it's definitely not the first or only ones out there. I do love the colour and I think it's my favourite of the collection but I kind of forgot I had the NYC one at home because they are so similar I now wish I'd bought a different colour! Do you think you'll give the collection a go and what is your favourite one? Thanks for reading!

Sunday, 2 March 2014

Review of Tanya Burr's Nail Varnish in Little Duck

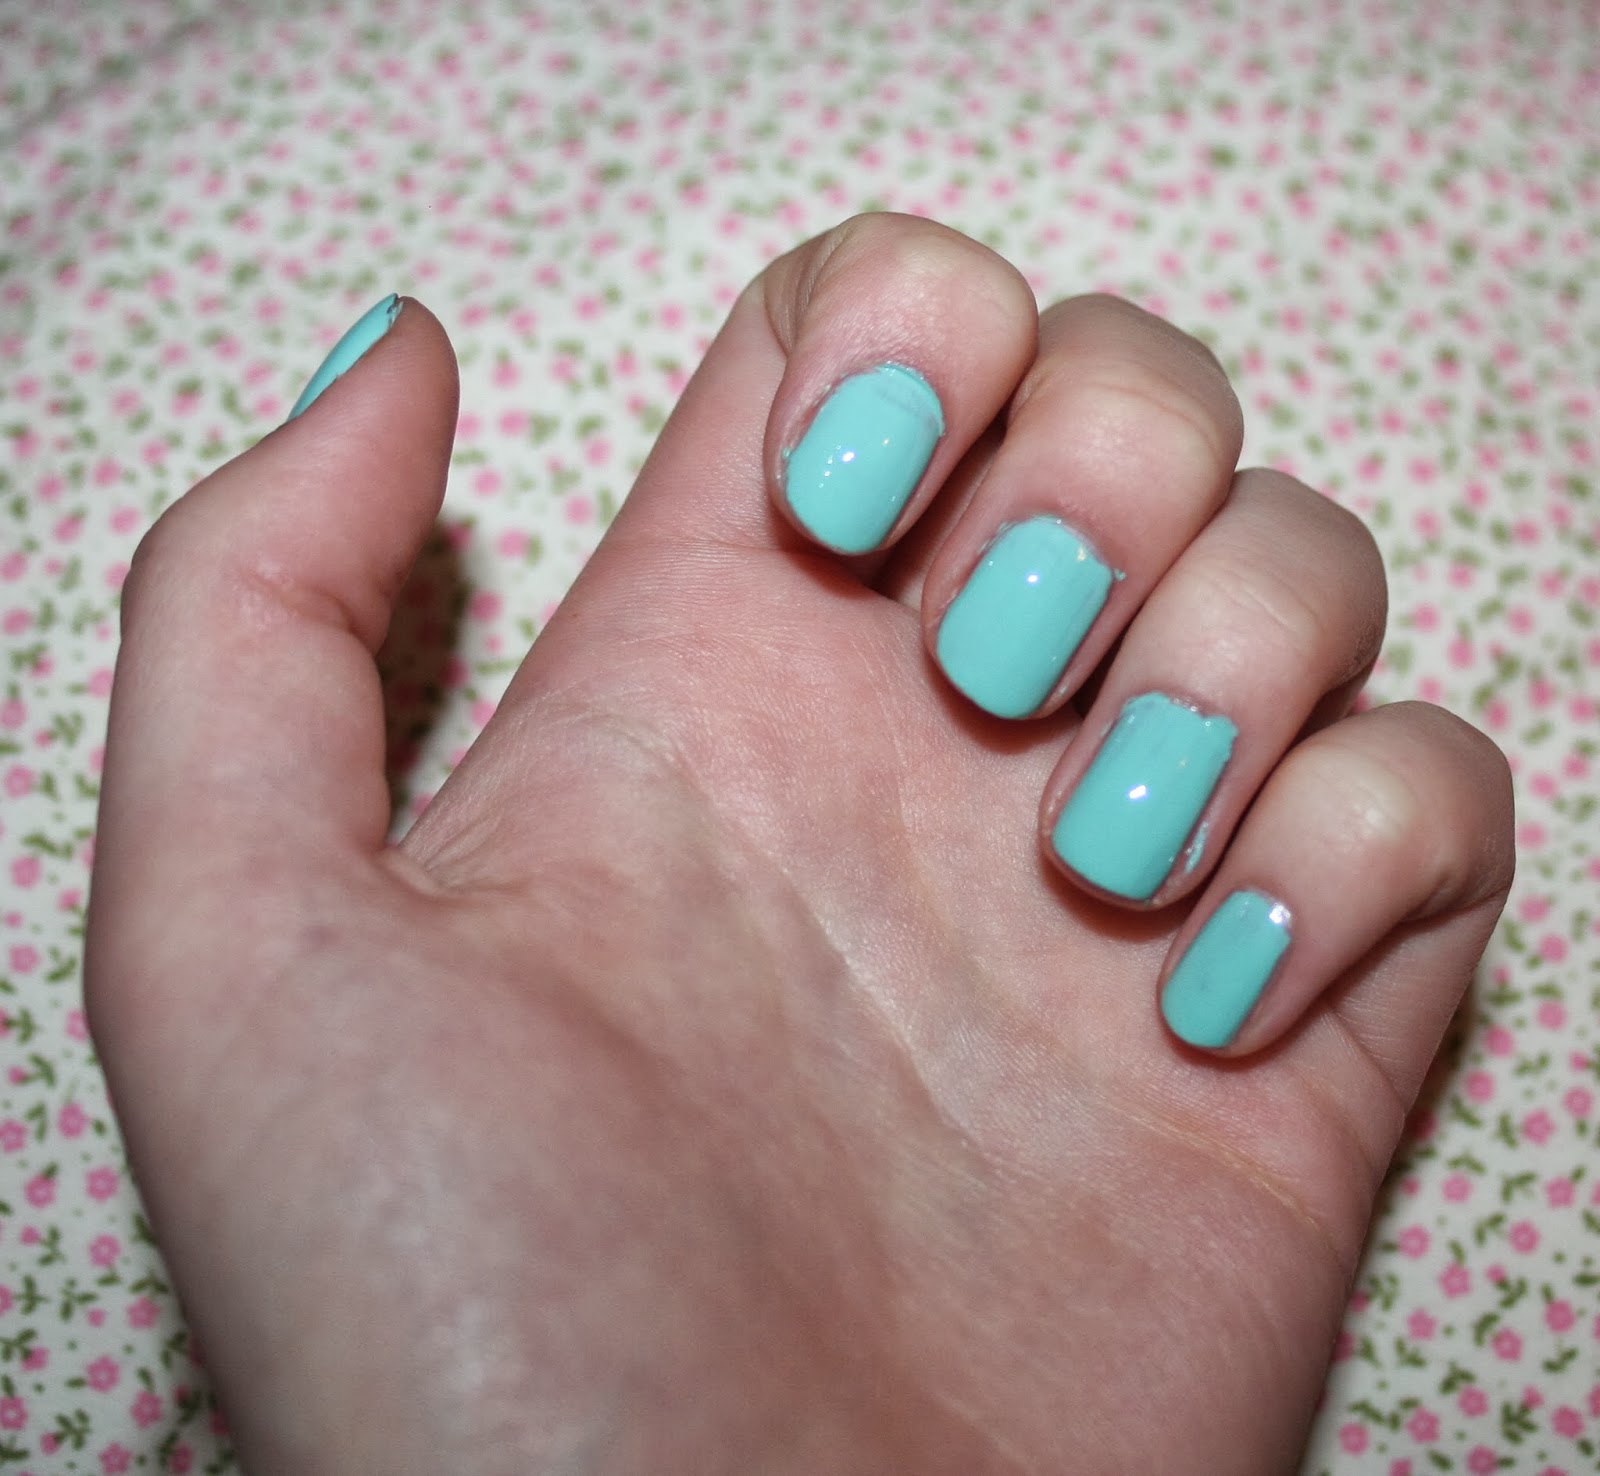
Hi everyone! By now I've have no doubt you will have all heard about the lovely Tanya Burr releasing her own line of nail varnishes and lip glosses! In the collection there are 12 lip glosses and 10 nail varnishes. This is their second appearance already on my blog (I wrote about Penguin Chic here) but to be honest with you I don't actually own this one. The same time that I ordered mine from feel unique for £5.99 my sister got this one, along with a lip gloss, but she has kindly let me borrow it. They are now on Superdrug online so I imagine they will be making there way into store soon! 'Little Duck' is a pastel mint bluey green colour which is perfect for spring and summer if the sun ever decides to come out!


I love the packaging of the nail varnishes especially with her signature on the front of the bottle. I've also just noticed there is a little heart on the top of the lid which had escaped my attention before. I didn't have this problem with my Penguin Chic nail varnish but I found with this one the brush was a little frayed. It wasn't a disaster it just made it a little harder to apply.


I used my new Sally Hansen base coat this time which I got from Fragrance Direct at a bargain price of £1.50! It's cheaper than my usual Barry M one and dried a lot quicker which is a huge bonus!


I then applied the first coat of Little Duck. The consistency again felt very similar to the Barry M Gelly Collection and although it's not advertised as a gel nail varnish I think it must be. I did feel that it went on slightly thicker than Penguin Chic did and without a doubt only really needed one coat. It's so glossy which I absolutely love but as the coats went on quite thickly I had to wait longer between coats for them to dry which was a little annoying.


I decided to apply a second coat anyway just to strengthen the polish from chipping.


I also applied my Barry M top coat which was something I didn't do last time. In terms of using a top coat to make them more shiny you don't need to; I simply put one on to prevent chipping. Something I found with Penguin Chic was even without a top coat by the end of the week they were still pretty much perfect which is great because I normally get to Friday and my nails have chips all over the place.


Although the price is a little more than I would pay for a normal nail varnish it is without a doubt worth it because the quality is amazing and they live up to their chip resistant name! I would definitely recommend you have a wander into Superdrug when they are released in store to have a proper look at all the colours! Let me know if you have or are going to try it out! What is your favourite colour from the collection? Thanks for reading!

Sunday, 16 February 2014

Review of Tanya Burr's Nail Varnish in Penguin Chic

Hi everyone! So I'm sure you have all heard about the lovely Tanya Burr releasing her own line of nail varnishes and lip glosses and if you haven't where have you been! In the collection there are 12 lip glosses and 10 nail varnishes. I ordered mine from feel unique but they are now on Superdrug online so I imagine they will be making there way into store soon! I chose 'Penguin Chic' because it's not a colour I have at all in my collection and I didn't want to just be buying one for the sake of it at the price of £5.99. It's not a hugely costly product but it is a little dearer than my usual choice of Barry M!


Online I have to admit it looked more of a grey but when it arrived as you can see it's sort of a browny grey kind of colour which isn't a bad thing - it's just different! I love the signed packaging as I think it really lends a personal touch to the product and looks really cute.

I used my new Sally Hansen base coat this time which I got from Fragrance Direct at a bargain price of £1.50! It's cheaper than my usual Barry M one and dried a lot quicker which is a huge bonus!


I then applied the first coat of Penguin Chic. The consistency feels very similar to the Barry M Gelly Collection and although it's not advertised as a gel nail varnish I think it must be. I found with the first coat it was a little patchy is some places but that just be because I put on pretty thin coats. I couldn't believe how glossy it was though! I hadn't even applied a second coat or top coat and apart from a little patchyness it looked ready to go!


I then applied a second coat of about the same thickness as before and they were done! I didn't apply a top coat because I painted them quite late at night and was worried that another coat wouldn't dry before I went to sleep and I really didn't want them to smudge.


In terms of applying a top coat for a more glossy effect you really don't need it. It's so shiny and gel like the only reason I would apply a top coat is to protect the colour from chipping. I've worn this on my nails for a few days now without a top coat and they still haven't chipped which I'm very impressed with!


Although the price is a little more than I would pay for a normal nail varnish I would definitely recommend you have a wander into Superdrug when they a released in store to have a proper look at all the colours! Let me know if you have or are going to try it out! What is your favourite colour from the collection? Thanks for reading!

Sunday, 19 January 2014

Review & Swatches of 'Maybelline Color Show Street Artist' in '04 Alley Attitude'

Hi everyone! So I was in town just planning to pick up some paper for school but of course I had to pop into Superdrug as I was walking past. I had a quick scan of the make up sections and I came across the Maybelline counter where they were promoting a nail varnish which looked really interesting so of course I had to pick one up. There were 4 colours but I thought I would just try one so I picked up the blue one for £3.99!


So I wasn't exactly sure what colour to use as my base colour as this nail varnish is a top coat, so I had a little look on some other peoples blogs and popular opinion was to use grey. However, despite having nearly 100 nail varnishes I don't actually have a grey so I did some swatches on some different colours!

So this is what it looks like on a plain nail without a base coat. Obviously I wouldn't wear it out like this but it shows you what the nail varnish looks like.


Firstly, I tried it with a black base colour which I think makes the the blue really stand out but you loose the effect of the black parts in the polish which I guess kind of defeats the point of the nail polish being two toned.

I then gave it a go on a light blue, similar to the colour of the blue parts in the polish, but again this had the same effect as using black as my base colour.


I thought a darker blue might work, but again it didn't look great as the effect kind of blended in which in my opinion is not the point of this nail varnish.


Similarly, using a pale purple just didn't make the effect stand out and the blue and purple just didn't compliment each other well.


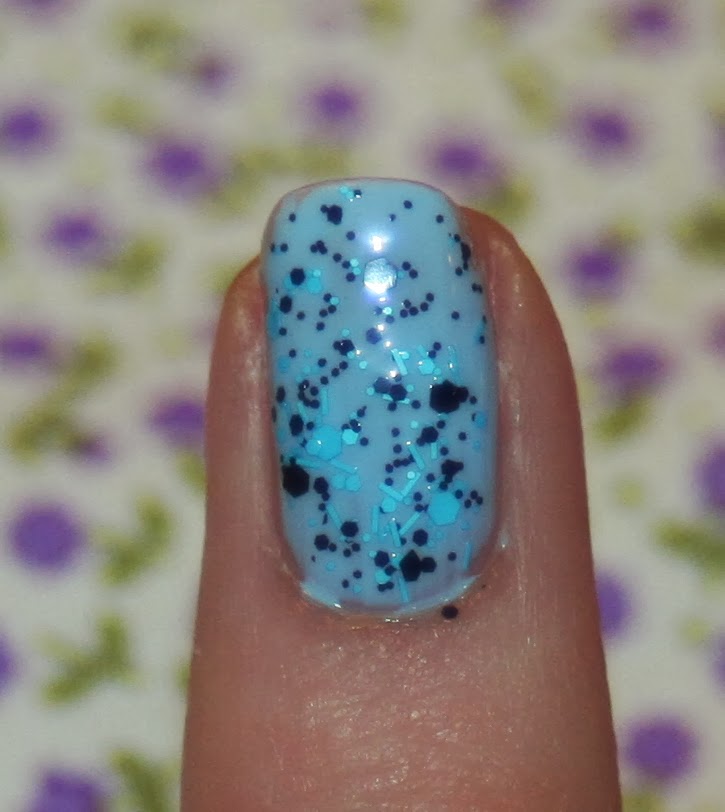
Finally I tried white, as this was the closest colour to grey I had, and I think it looked amazing!


From a distance it looks like you've manually splattered nail polish on your nails (which is something I have tried but the effect never seems to turn out the way I want it to!) So many people asked me at school how I did it and were shocked to find out it was quite literally a top coat!


In the collection there is also a red, green and a sort of whitey purpley coloured one in addition to the blue one I bought. I would definitely recommend you get one and try it out for yourself! They look so fun and require minimal effort which is always a plus when you don't have a great deal of time to spare!

Although it in principal is the same as any confetti or glitter top coat I think it looks so much better and I really like that there are a variety of sized pieces making it look like more realistic paint splatters!

Let me know if what you think of this new look and if you have tried it out! Thanks for reading!