Hi everyone! So I was in my local Superdrug and I just had to walk past the NYC stand and I saw they had these new Rock Muse Smoky Top Coats. Now I'm not sure if they are new, or if my local store has only just got them in? Anyway they kind of looked like the Revlon Moon Candy nail varnish which I really wanted to try it out but they are around £7, but rumour is, Barry M is releasing something very similar to it but hopefully half the price! Anywho, as usual it was only £1.99 so I thought I would give it a go!
I've been loving dark, rocky-ish colours on my nails recently so I picked up the black which has green sequins and bits of glitter in, hence the name Green Day! I quite like the rock themed names but I did have a bit of a stuggle finding swatches of it online as googling: Rock, Muse and Green Day, didn't really give me what I was looking for!
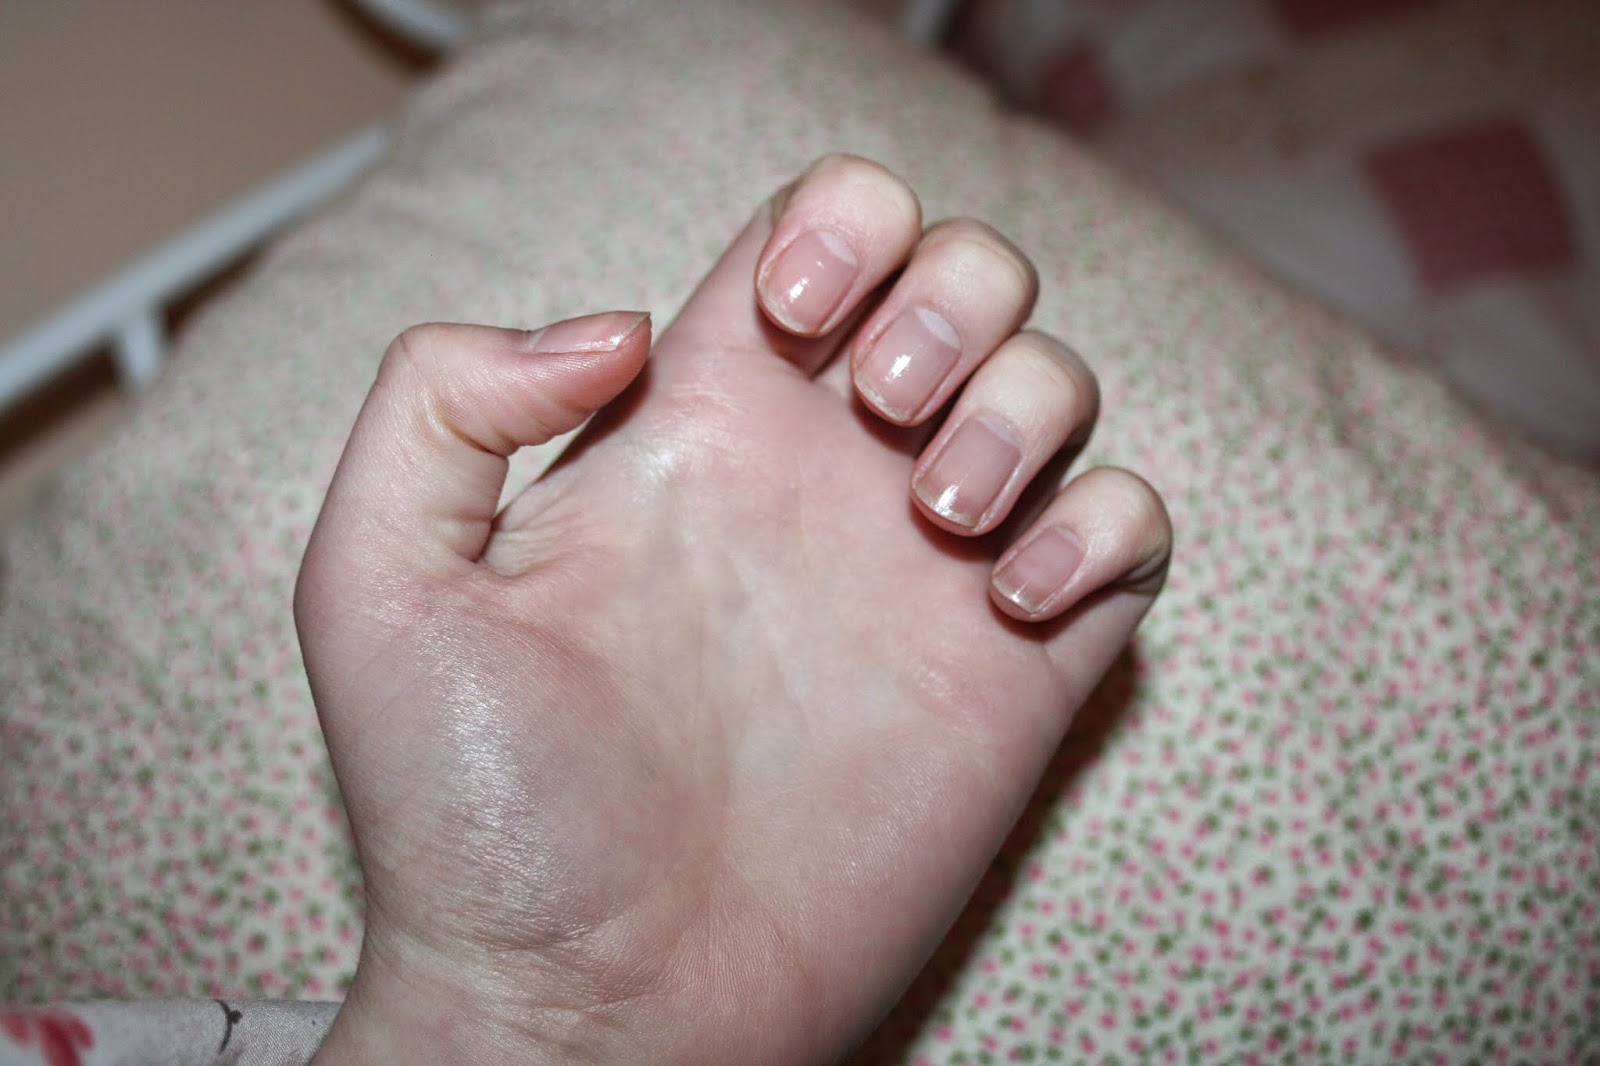
I first applied my base coat which is my Barry M one (I found it again!) and I did two coats because I was using black as my base and I really didn't want it to stain my nails.
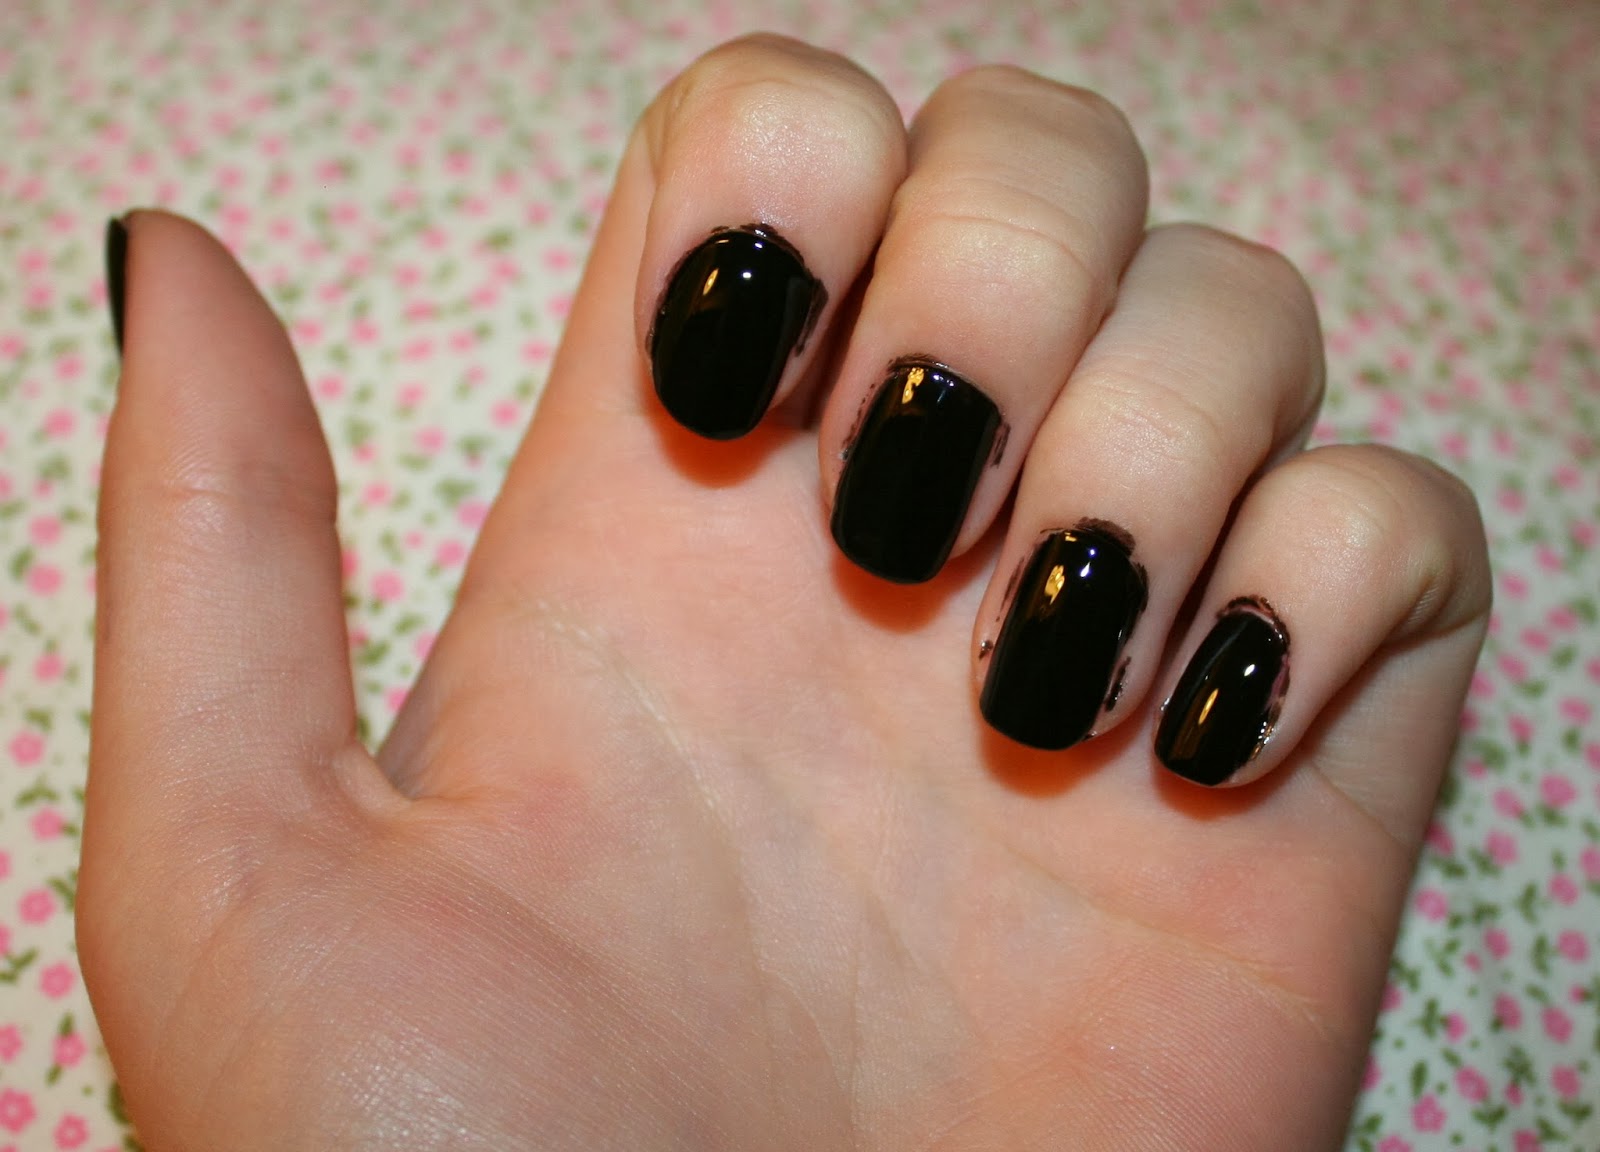
I then applied my first coat of my base colour. I decided to go for a black, also from the NYC collection, as the smokey top coat although appears dead black in the bottle, but if you apply it straight on your nail it's a very pale and watery black. I think my nails were good to go after one coat of the base colour but
on the odd nail it was a little thin.
I then applied my second coat of the black base colour just to have a really deep black. It seemed to dry pretty quickly and was very glossy which is a huge bonus for me!
I then applied the first coat of the 'Smoky Top Coat' and to be honest I was a little disappointed. Don't get me wrong - it does look really cool! But it wasn't anything like the Moon Candy ones which is what I thought it would be like but I guess I can't blame them for that as they never advertised it as an alternative to it! It is basically the same as a glitter coat.
I don't think NYC is great for glitter nail varnishes as the spread of large bits of glitter and small bits of glitter isn't very even! But I think this is one of the best ones I have tried just because of how the green really stands out against the black when the light hits it! For this reason, I would definitely recommend you check it out!
I didn't apply a top coat as this polish is labelled as a top coat! I just cleaned up all the stray polish and they were done!
I really like how it turned out even if it wasn't like I expected it to be! I think I might go back and have a look what other colours they do that might be more suitable to wearing any time! As much as I like it I think the effect of green and black is quite Halloweeny for me as I don't usually wear stuff like this! Let me know what you think of this more rocky look - would you try it out? Thanks for reading!