Hi everyone! So not that long ago Barry M brought out a Silk collection (which I wrote about here) and I was worried that their new Aquarium collection would be exactly the same but I had no reason to worry! There are 6 new polishes in the Aquarium collection, 4 duochrome effect polishes and 2 glitters. All of them have oceanic names and I picked up Pacific for £3.99 (although Superdrug were doing a 3 for 2 offer so I did get another two!)
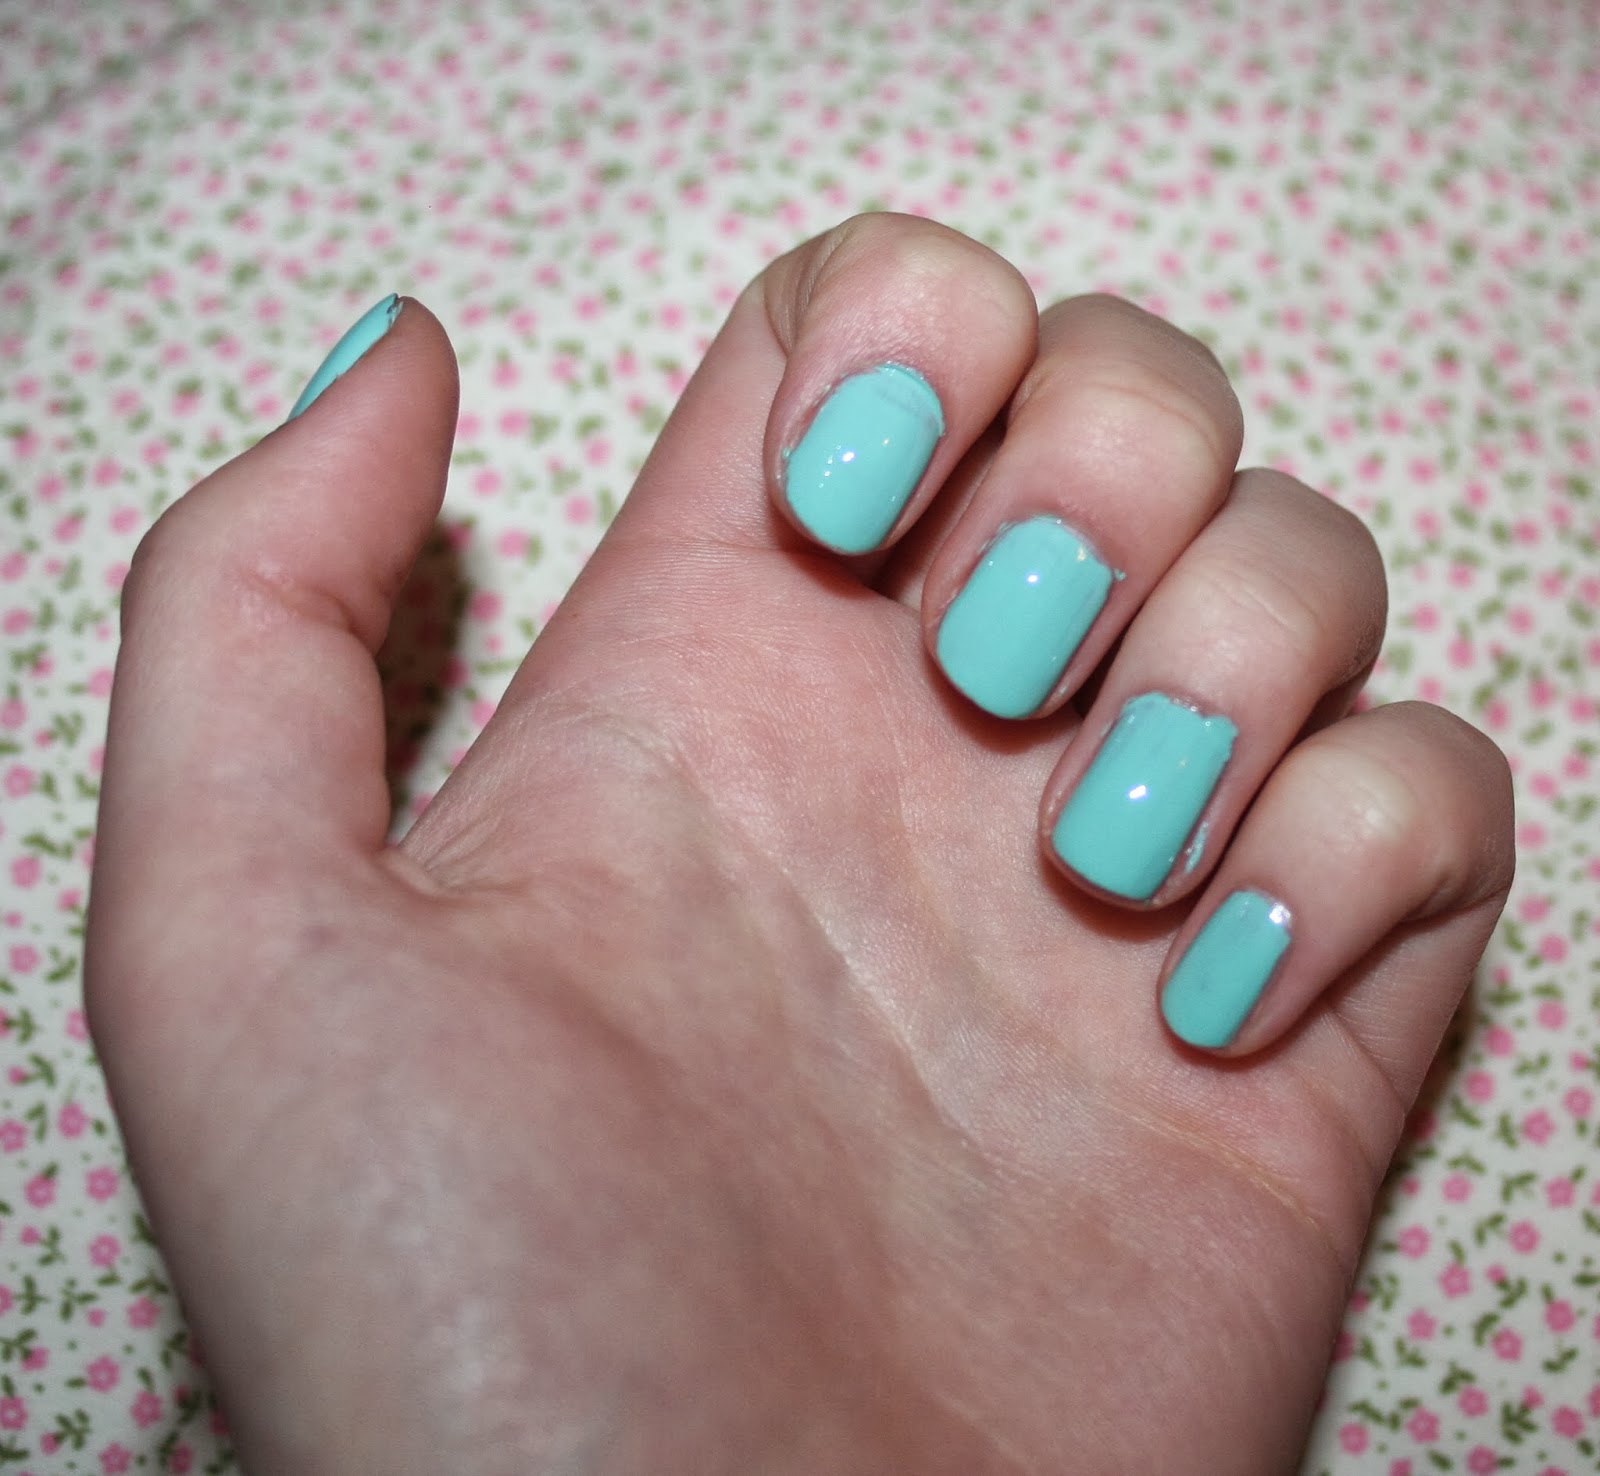
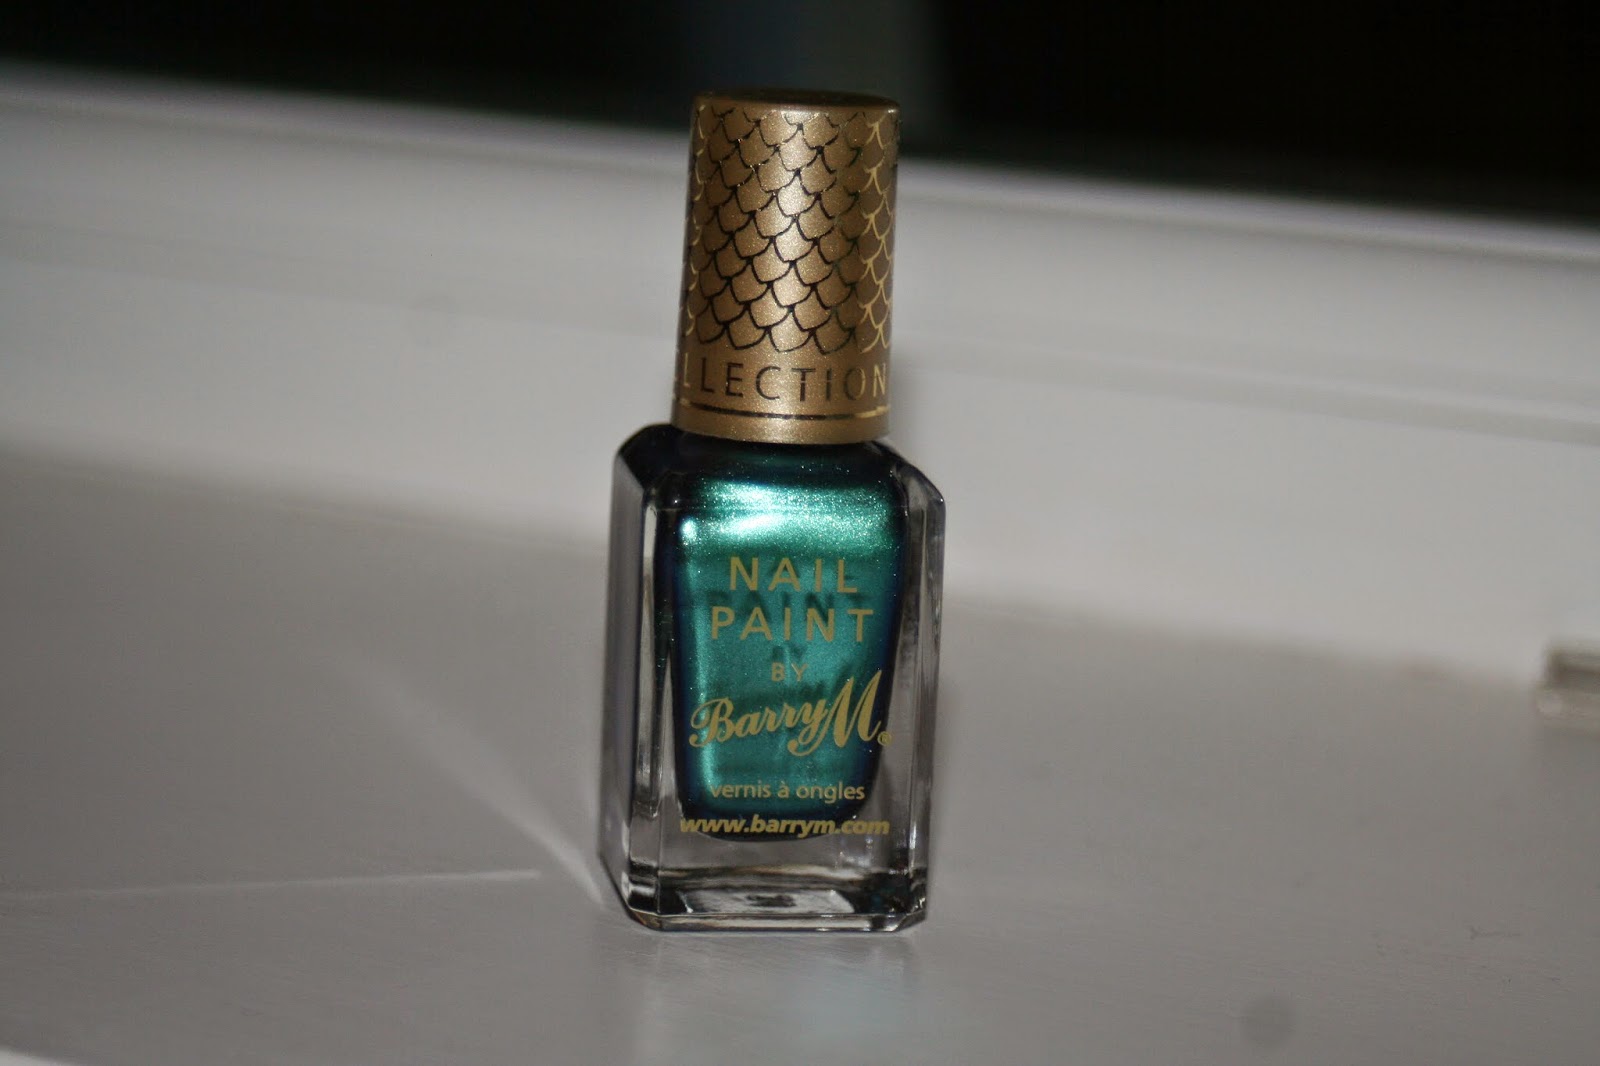
Pacific is a bluey green colour like the ocean really and is kind of metallic so in different lights it appears slightly different in colour which I think is really cool! In the bottle is does seem very similar to East Village by NYC but a bit more blue. I love the scale design on the lid of the bottle making this collection very distinguishable.
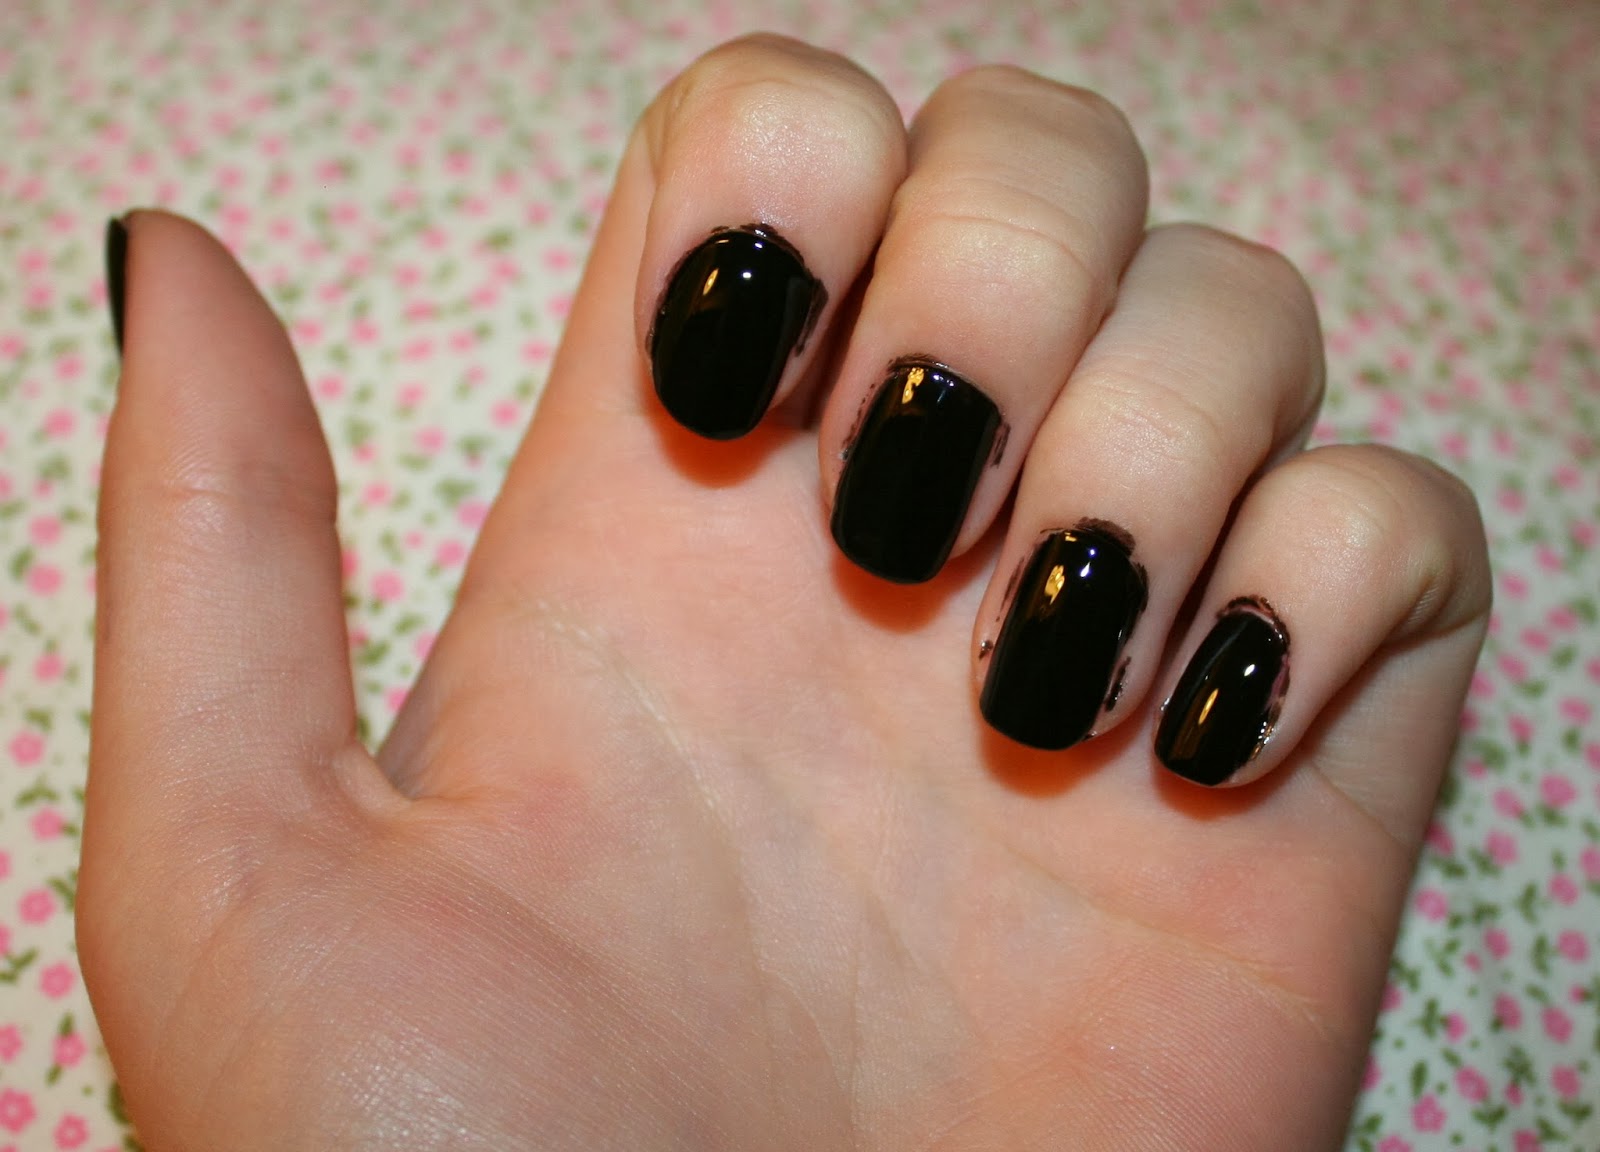
I used NYC toughen up nail varnish which isn't actually blue when it goes on! I know it isn't a base coat exactly but my nails have been braking a lot recently which I'm putting down to my new job at Costa!
I then applied the first coat of colour and was surprised how thickly it went on! I was expecting it to be very similar to East Village but I did find it to be a little streaky as I was applying it. Due to the metallic nature of the polish it means that brush strokes are a lot more visible than normal. I did really like the colour and even with one coat it was pretty much the same as in the bottle.
For the second coat I applied it a little thicker than the first to eliminate any brush strokes because I think having brush strokes on your nails just make them look really cheap and badly done! I mean, you wouldn't want paint stripes down your walls would you!?
Finally, I applied a top coat and tidied them up a bit and that's the finished look!
Whilst I really like the formula and colour of the nail varnish it's definitely not the first or only ones out there. I do love the colour and I think it's my favourite of the collection but I kind of forgot I had the NYC one at home because they are so similar I now wish I'd bought a different colour! Do you think you'll give the collection a go and what is your favourite one? Thanks for reading!
Showing posts with label Green. Show all posts
Sunday, 20 April 2014
Sunday, 2 March 2014
Review of Tanya Burr's Nail Varnish in Little Duck
Hi everyone! By now I've have no doubt you will have all heard about the lovely Tanya Burr releasing her own line of nail varnishes and lip glosses! In the collection there are 12 lip glosses and 10 nail varnishes. This is their second appearance already on my blog (I wrote about Penguin Chic here) but to be honest with you I don't actually own this one. The same time that I ordered mine from feel unique for £5.99 my sister got this one, along with a lip gloss, but she has kindly let me borrow it. They are now on Superdrug online so I imagine they will be making there way into store soon! 'Little Duck' is a pastel mint bluey green colour which is perfect for spring and summer if the sun ever decides to come out!
I love the packaging of the nail varnishes especially with her signature on the front of the bottle. I've also just noticed there is a little heart on the top of the lid which had escaped my attention before. I didn't have this problem with my Penguin Chic nail varnish but I found with this one the brush was a little frayed. It wasn't a disaster it just made it a little harder to apply.
I used my new Sally Hansen base coat this time which I got from Fragrance Direct at a bargain price of £1.50! It's cheaper than my usual Barry M one and dried a lot quicker which is a huge bonus!
I then applied the first coat of Little Duck. The consistency again felt very similar to the Barry M Gelly Collection and although it's not advertised as a gel nail varnish I think it must be. I did feel that it went on slightly thicker than Penguin Chic did and without a doubt only really needed one coat. It's so glossy which I absolutely love but as the coats went on quite thickly I had to wait longer between coats for them to dry which was a little annoying.
I decided to apply a second coat anyway just to strengthen the polish from chipping.
I also applied my Barry M top coat which was something I didn't do last time. In terms of using a top coat to make them more shiny you don't need to; I simply put one on to prevent chipping. Something I found with Penguin Chic was even without a top coat by the end of the week they were still pretty much perfect which is great because I normally get to Friday and my nails have chips all over the place.
Although the price is a little more than I would pay for a normal nail varnish it is without a doubt worth it because the quality is amazing and they live up to their chip resistant name! I would definitely recommend you have a wander into Superdrug when they are released in store to have a proper look at all the colours! Let me know if you have or are going to try it out! What is your favourite colour from the collection? Thanks for reading!
I love the packaging of the nail varnishes especially with her signature on the front of the bottle. I've also just noticed there is a little heart on the top of the lid which had escaped my attention before. I didn't have this problem with my Penguin Chic nail varnish but I found with this one the brush was a little frayed. It wasn't a disaster it just made it a little harder to apply.
I used my new Sally Hansen base coat this time which I got from Fragrance Direct at a bargain price of £1.50! It's cheaper than my usual Barry M one and dried a lot quicker which is a huge bonus!
I then applied the first coat of Little Duck. The consistency again felt very similar to the Barry M Gelly Collection and although it's not advertised as a gel nail varnish I think it must be. I did feel that it went on slightly thicker than Penguin Chic did and without a doubt only really needed one coat. It's so glossy which I absolutely love but as the coats went on quite thickly I had to wait longer between coats for them to dry which was a little annoying.
I decided to apply a second coat anyway just to strengthen the polish from chipping.
I also applied my Barry M top coat which was something I didn't do last time. In terms of using a top coat to make them more shiny you don't need to; I simply put one on to prevent chipping. Something I found with Penguin Chic was even without a top coat by the end of the week they were still pretty much perfect which is great because I normally get to Friday and my nails have chips all over the place.
Monday, 30 September 2013
Review of 'NYC Rock Muse Smoky Top Coat' in 'Green Day'
Hi everyone! So I was in my local Superdrug and I just had to walk past the NYC stand and I saw they had these new Rock Muse Smoky Top Coats. Now I'm not sure if they are new, or if my local store has only just got them in? Anyway they kind of looked like the Revlon Moon Candy nail varnish which I really wanted to try it out but they are around £7, but rumour is, Barry M is releasing something very similar to it but hopefully half the price! Anywho, as usual it was only £1.99 so I thought I would give it a go!
I've been loving dark, rocky-ish colours on my nails recently so I picked up the black which has green sequins and bits of glitter in, hence the name Green Day! I quite like the rock themed names but I did have a bit of a stuggle finding swatches of it online as googling: Rock, Muse and Green Day, didn't really give me what I was looking for!
I first applied my base coat which is my Barry M one (I found it again!) and I did two coats because I was using black as my base and I really didn't want it to stain my nails.
I then applied my first coat of my base colour. I decided to go for a black, also from the NYC collection, as the smokey top coat although appears dead black in the bottle, but if you apply it straight on your nail it's a very pale and watery black. I think my nails were good to go after one coat of the base colour but
on the odd nail it was a little thin.
I then applied my second coat of the black base colour just to have a really deep black. It seemed to dry pretty quickly and was very glossy which is a huge bonus for me!
I then applied the first coat of the 'Smoky Top Coat' and to be honest I was a little disappointed. Don't get me wrong - it does look really cool! But it wasn't anything like the Moon Candy ones which is what I thought it would be like but I guess I can't blame them for that as they never advertised it as an alternative to it! It is basically the same as a glitter coat.
I don't think NYC is great for glitter nail varnishes as the spread of large bits of glitter and small bits of glitter isn't very even! But I think this is one of the best ones I have tried just because of how the green really stands out against the black when the light hits it! For this reason, I would definitely recommend you check it out!
I didn't apply a top coat as this polish is labelled as a top coat! I just cleaned up all the stray polish and they were done!
I really like how it turned out even if it wasn't like I expected it to be! I think I might go back and have a look what other colours they do that might be more suitable to wearing any time! As much as I like it I think the effect of green and black is quite Halloweeny for me as I don't usually wear stuff like this! Let me know what you think of this more rocky look - would you try it out? Thanks for reading!
I've been loving dark, rocky-ish colours on my nails recently so I picked up the black which has green sequins and bits of glitter in, hence the name Green Day! I quite like the rock themed names but I did have a bit of a stuggle finding swatches of it online as googling: Rock, Muse and Green Day, didn't really give me what I was looking for!
I first applied my base coat which is my Barry M one (I found it again!) and I did two coats because I was using black as my base and I really didn't want it to stain my nails.
I then applied my first coat of my base colour. I decided to go for a black, also from the NYC collection, as the smokey top coat although appears dead black in the bottle, but if you apply it straight on your nail it's a very pale and watery black. I think my nails were good to go after one coat of the base colour but
I then applied my second coat of the black base colour just to have a really deep black. It seemed to dry pretty quickly and was very glossy which is a huge bonus for me!
I then applied the first coat of the 'Smoky Top Coat' and to be honest I was a little disappointed. Don't get me wrong - it does look really cool! But it wasn't anything like the Moon Candy ones which is what I thought it would be like but I guess I can't blame them for that as they never advertised it as an alternative to it! It is basically the same as a glitter coat.
I don't think NYC is great for glitter nail varnishes as the spread of large bits of glitter and small bits of glitter isn't very even! But I think this is one of the best ones I have tried just because of how the green really stands out against the black when the light hits it! For this reason, I would definitely recommend you check it out!
I didn't apply a top coat as this polish is labelled as a top coat! I just cleaned up all the stray polish and they were done!
I really like how it turned out even if it wasn't like I expected it to be! I think I might go back and have a look what other colours they do that might be more suitable to wearing any time! As much as I like it I think the effect of green and black is quite Halloweeny for me as I don't usually wear stuff like this! Let me know what you think of this more rocky look - would you try it out? Thanks for reading!
Tuesday, 27 August 2013
Review of 'MUA Nail Constellation' in 'Pisces'
Hi everyone! So as you know I normally just do plain nail varnish reviews but I thought I would try something different! I'm also thinking of doing some patterned nail tutorials and things like that in the future, if you are interested in that?
This isn't mine by the way, it's actually my sisters and she kindly let me borrow it so I could try it out. I believe you can buy them at £3 from MUA which is a brand you can only find online or in Superdrug and I'd not heard of this brand until pretty recently but they basically do super cheap make up and from what I've heard most of it is actually pretty good!
So I am using the colour Pisces (which is actually my star sign) but I think I am right in saying there are 4 other ones in a variety of colours. This one is mainly green with bits of pearly pink and white infused into the mixture.
I have already painted my nails with a colour I found to match the green balls best which I got from the NYC and you can read a review of that HERE . I didn't have any that matched the pearl or white but I think it would have looked more effective if I had been able to use a pearl colour as my base.
So what you have to do is paint your desired nail with your base colour and whilst it is still wet and tacky pour the small balls onto you nail. This can be a bit messy so make sure you have something underneath to catch the mass of stay ones! Once your nail looks fully covered gently push the balls down onto your nail and then apply a clear top coat on top to secure them.
I only chose to do one nail thus acting as an accent nail because I had never tried anything like this and thought it might be a little bit too much if I did all my nails like this!
Although the bottle is very well designed to pouring the balls out it is a bit tricky getting them back in. For some reason I couldn't remove the funnel part of the bottle as you are supposed to do so I have to try and pour the stray balls back through the tiny hole they came out of! I managed to get there in the end but it was a bit annoying.I'm sure by removing the funnel it is a lot easier to pour the balls back in but I was just unable to do so.
I quite like the overall effect although I did find it strange to have things sticking out of my nail! Considering the price of £3 I would recommend this as it is a great way to jazz up your nails although personally I would try a different colour out as I don't think this one was right for me!
Let me know if what you do to spice up your nails and also if you would be interested in me doing some tutorial/nail pattern design things in the future! Thanks for reading.
This isn't mine by the way, it's actually my sisters and she kindly let me borrow it so I could try it out. I believe you can buy them at £3 from MUA which is a brand you can only find online or in Superdrug and I'd not heard of this brand until pretty recently but they basically do super cheap make up and from what I've heard most of it is actually pretty good!
So I am using the colour Pisces (which is actually my star sign) but I think I am right in saying there are 4 other ones in a variety of colours. This one is mainly green with bits of pearly pink and white infused into the mixture.
I have already painted my nails with a colour I found to match the green balls best which I got from the NYC and you can read a review of that HERE . I didn't have any that matched the pearl or white but I think it would have looked more effective if I had been able to use a pearl colour as my base.
So what you have to do is paint your desired nail with your base colour and whilst it is still wet and tacky pour the small balls onto you nail. This can be a bit messy so make sure you have something underneath to catch the mass of stay ones! Once your nail looks fully covered gently push the balls down onto your nail and then apply a clear top coat on top to secure them.
My whole nail is covered! Honest! It's just that the green balls blend in the my base colour |
Although the bottle is very well designed to pouring the balls out it is a bit tricky getting them back in. For some reason I couldn't remove the funnel part of the bottle as you are supposed to do so I have to try and pour the stray balls back through the tiny hole they came out of! I managed to get there in the end but it was a bit annoying.I'm sure by removing the funnel it is a lot easier to pour the balls back in but I was just unable to do so.
Excess balls |
Let me know if what you do to spice up your nails and also if you would be interested in me doing some tutorial/nail pattern design things in the future! Thanks for reading.
Labels:
Accent Nail,
Beauty,
Blog,
Blue,
Cheap,
Cosmetics,
Cute,
Green,
MUA,
Nail,
Nail Art,
Nail Constellation,
Nail Polish,
Nail Varnish,
Nails,
NYC,
Pink,
Pisces,
Review,
White
Thursday, 22 August 2013
Review of 'NYC Quick Dry Nail Polish' in 'East Village'
Hi everyone! It's been ages (over a month!) since I did a post about NYC nail varnish so I thought I would pick one out from when I went through the mad phase of buying every single one and try it out! So the bottle on it's own is £1.79 but I picked all of mine up on a 2 for £3 deal is Superdrug.
So, this is a sort of bluey green shimmery colour as at the moment I'm going through a blue/green stage instead of playing it safe with pinks and purples like I usually do. I'd probably say it was more green in colour than blue - sort of turquoise although the picture doesn't seem to support my opinion!
Firstly I applied the base coat I always use which was £2.99 from Barry M.
I applied the first coat of colour and I was so shocked! I've used nail varnishes from this brand loads before so I know you always tend to need more than one coat but this was ridiculous! It has so transparent it was almost like it wasn't even on! I do apply thin coats but even so it was just unbelievable! This was when I realised it was going to take a fair few more coats than usual before I got anywhere near the colour in the bottle!
As it was so thin it dried super quick which was a bonus so I applied the second coat a little more thickly and as you can see it is starting to look a little better, although it's still not great! It's sort of the colour transparency I would expect from one thin coat from any NYC nail varnish not two!
Third coat now! It does look a lot better but I think it's ridiculous that I had to apply 3 coats before it got to this stage!
As it still wasn't the colour I wanted I applied one more coat of colour! 4 coats now! You shouldn't have to be applying 4 coats of any nail varnish regardless of price to achieve the colour it was intended to be.
I didn't apply a top coat because I honestly couldn't be bothered waiting for yet another coat to dry and I figured that 4 coats is anyway more than I normally do with the top coat included so it should be strong enough not to chip! I also didn't apply a top coat because I wanted to experiment with some nail beads!
Although I did like the colour and absolutely love the brand as it's so cheap I wouldn't really recommend this particular colour due to the sheer amount of time I had to wait between each of the 4 coats!
If you've tried this or any from the NYC collection I'd love to know what you thought of them so leave a comment! Thanks for reading!
Labels:
Barry M,
Blog,
Blue,
Cheap,
East Village,
Fashion,
Green,
Nail,
Nail Colour,
Nail Polish,
Nail Varnish,
Nails,
NYC,
Quick,
Quick dry,
Review,
Superdrug
Saturday, 20 July 2013
Review 'No7 Stay Perfect Nail Colour' in 'Cruising'
Hi everyone! I recently had a voucher for £3 off any No7 make up (including nail varnishes) at Boots so I went to have a little look around but as I don't really wear much make up it seemed a bit pointless spending it of make up so I got a nail varnish! Normally, they are £6 but with this voucher I got it for £3! Most of the colours were shades of pinks & reds and I didn't really want that as I have so many so I got a deep bluey green colour.
Firstly I used my Barry M base coat which I picked up for £2.99 to protect my nails as they break so much! I really like this one as it doubles up as a top coat which a) saves you a bit of money & b) saves you a bit of room in your bag if you are going away!
I then applied the first coat of colour. I put on a very thin coat after last time my nails didn't dry properly so as you can see it's a little bit opaque but if you did apply a little thicker of a coat I think you would be able to get away with only one coat of colour. The bottle claims to be highly pigmented & quick drying but I'm not too sure about the quick drying aspect as it still took a good 10 minutes or so to dry.
I then put the second coat of colour on and I think the colour is really strong now
I then used the Barry M base and top coat on the top and cleaned up the mess I made painting them et voila!
I really liked this colour. It's not particularly summery in my opinion but it is a really nice colour. Thinking about it... I'm not sure really what season this colour is - can it be all? I would really recommend this brand and this colour because it has such a glossy finish to it even without the top coat & I really don't like nail varnishes with a matt finish but each to their own.
Let me know your opinion on the colour and if you've tried any No7 nail varnish before! Thank you for reading (:
Firstly I used my Barry M base coat which I picked up for £2.99 to protect my nails as they break so much! I really like this one as it doubles up as a top coat which a) saves you a bit of money & b) saves you a bit of room in your bag if you are going away!
I then applied the first coat of colour. I put on a very thin coat after last time my nails didn't dry properly so as you can see it's a little bit opaque but if you did apply a little thicker of a coat I think you would be able to get away with only one coat of colour. The bottle claims to be highly pigmented & quick drying but I'm not too sure about the quick drying aspect as it still took a good 10 minutes or so to dry.
I then put the second coat of colour on and I think the colour is really strong now
I then used the Barry M base and top coat on the top and cleaned up the mess I made painting them et voila!
Let me know your opinion on the colour and if you've tried any No7 nail varnish before! Thank you for reading (:
Labels:
Barry M,
Beauty,
Blue,
Boots,
Cruising,
Glossy,
Green,
Nail,
Nail Colour,
Nail Polish,
Nail Varnish,
Nails,
No7,
Polish,
Quick,
Quick dry,
Stay Perfect,
Voucher
Friday, 12 July 2013
Review of 'Rimmel London - I Love Lasting Finish' in '700 Block Your Green'
Hi everyone! I've been looking for a nice green nail polish for absolutely ages now! I thought I hit the jackpot last summer when I bought 2 lovely shades of green, but both ended up staining my nails and they are still recovering!! So as I was in Superdrug I saw that this brand of Rimmel was on offer at £1.99 instead of £2.99 (which still is nice and cheap!) and I just had to get it! The picture doesn't really show its true colour. It is a richer green in real life!
This green in the bottle looks a really lovely and has a slight shimmer to it which at first I didn't notice but it really is very pretty. However, I do have to say it isn't particularly a summery colour, in my opinion it is more of a Christmasy colour so if you are looking for a summery green: this probably isn't the one for you!
So, first things first - my Collection 2000 base coat.
Then I applied the first coat of colour. It was pretty highly pigmented and had a lovely shimmer to it when it caught the light. In comparison to the NYC nail varnishes I definitely think you could get away with just applying one coat of this. I did find that although it went on very smoothly, on some nails it was a little thicker in places than others - but that's probably more down to me than the polish (a bad workman always blames her tools!)
I applied a second coat and it looks exactly like it does in the bottle!
Finally a top coat to give it a nice glossy finish. As per usual I'm just using a clear nail varnish from Boots Natural Collection (trust me it really isn't pink!)
And all done! I really liked this nail varnish as you can get such a strong colour with just one coat which is ideal if you are in a bit of a rush. But this really isn't a summer colour - it's a quite rich shade of green which to me strikes me as a Christmas colour. But overall I did really love this and will be going out to buy some different colours! Thanks for reading (:
Labels:
700,
Beauty,
Block Your Green,
Blog,
Cheap,
Christmas,
Green,
I Love Lasting Finish,
Lasting Finish,
Nail,
Nail Polish,
Nail Varnish,
Nails,
Polish,
Review,
Rimmel,
Rimmel London,
Shimmer,
Varnish
Subscribe to:
Posts (Atom)